Saturday, May 8, 2010

Lesson #5: Cheese and Sausage Calzones

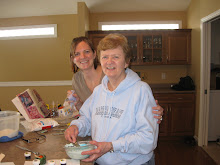
Grandma's all set up before I arrive!

Rolling and rolling and rolling....

Putting the calzones together.

A taste of the final product (and knowing that there are many more in my freezer makes me very happy)!


The first time I ever tried one of my Grandma's calzones I am pretty sure I had never even heard the word "calzone." I probably would have called it a panzerotti. I guess panzerottis are smaller versions of calzones and are produced with a softer dough (at least that's what I just read on Wikipedia). So, if you're like me and have never heard of these....just think mini-pizza on bread dough folded in half. And, trust me, they're delicious!! Also...these can be pretty time consuming so (if you can) cook the filling the day before and then get a team together to make them. My Aunt Paulette wanted some calzones too so she made some filling and met me at Grandma's where the three of us created an assembly line of sorts and made 55 calzones. It's much more fun this way, plus you have someone to eat a calzone with at lunchtime. By the way, calzones go really well with beer.

Here is the recipe for the filling:

(Adapted from Taste of Home magazine)

2 containers (15 ounces each) ricotta cheese
4 cups (1 pound) shredded mozzarella cheese
1 cup grated Parmesan cheese
2 tsp dried oregano
2 tsp dried basil
1 cup finely chopped onion
1 cup finely chopped green pepper (we used red)
2 garlic cloves, minced
2 tsp cooking oil
2 pounds bulk Italian sausage

In a large bowl, combine cheeses, oregano and basil; set aside.

In a large skillet, saute the onion, green pepper and garlic in oil until tender; add to cheese mixture.

In the same skillet, brown sausage; drain and stir into cheese mixture.


Here is the recipe for the dough:

(Adapted from Fleishmann's "Country Fair." This recipe for 100% Honey Whole Wheat Bread was entered by Mabel Espey from Manitoba)

6 cups whole wheat flour (we used 3 cups whole wheat/3 cups all-purpose)
2 tsp salt
1 pkg Fleischmann's Quick-Rise Instant yeast (8 grams)
1 1/2 cups milk
1/2 cup water
1/3 cup oil
1/3 cup honey
2 eggs, lightly beaten

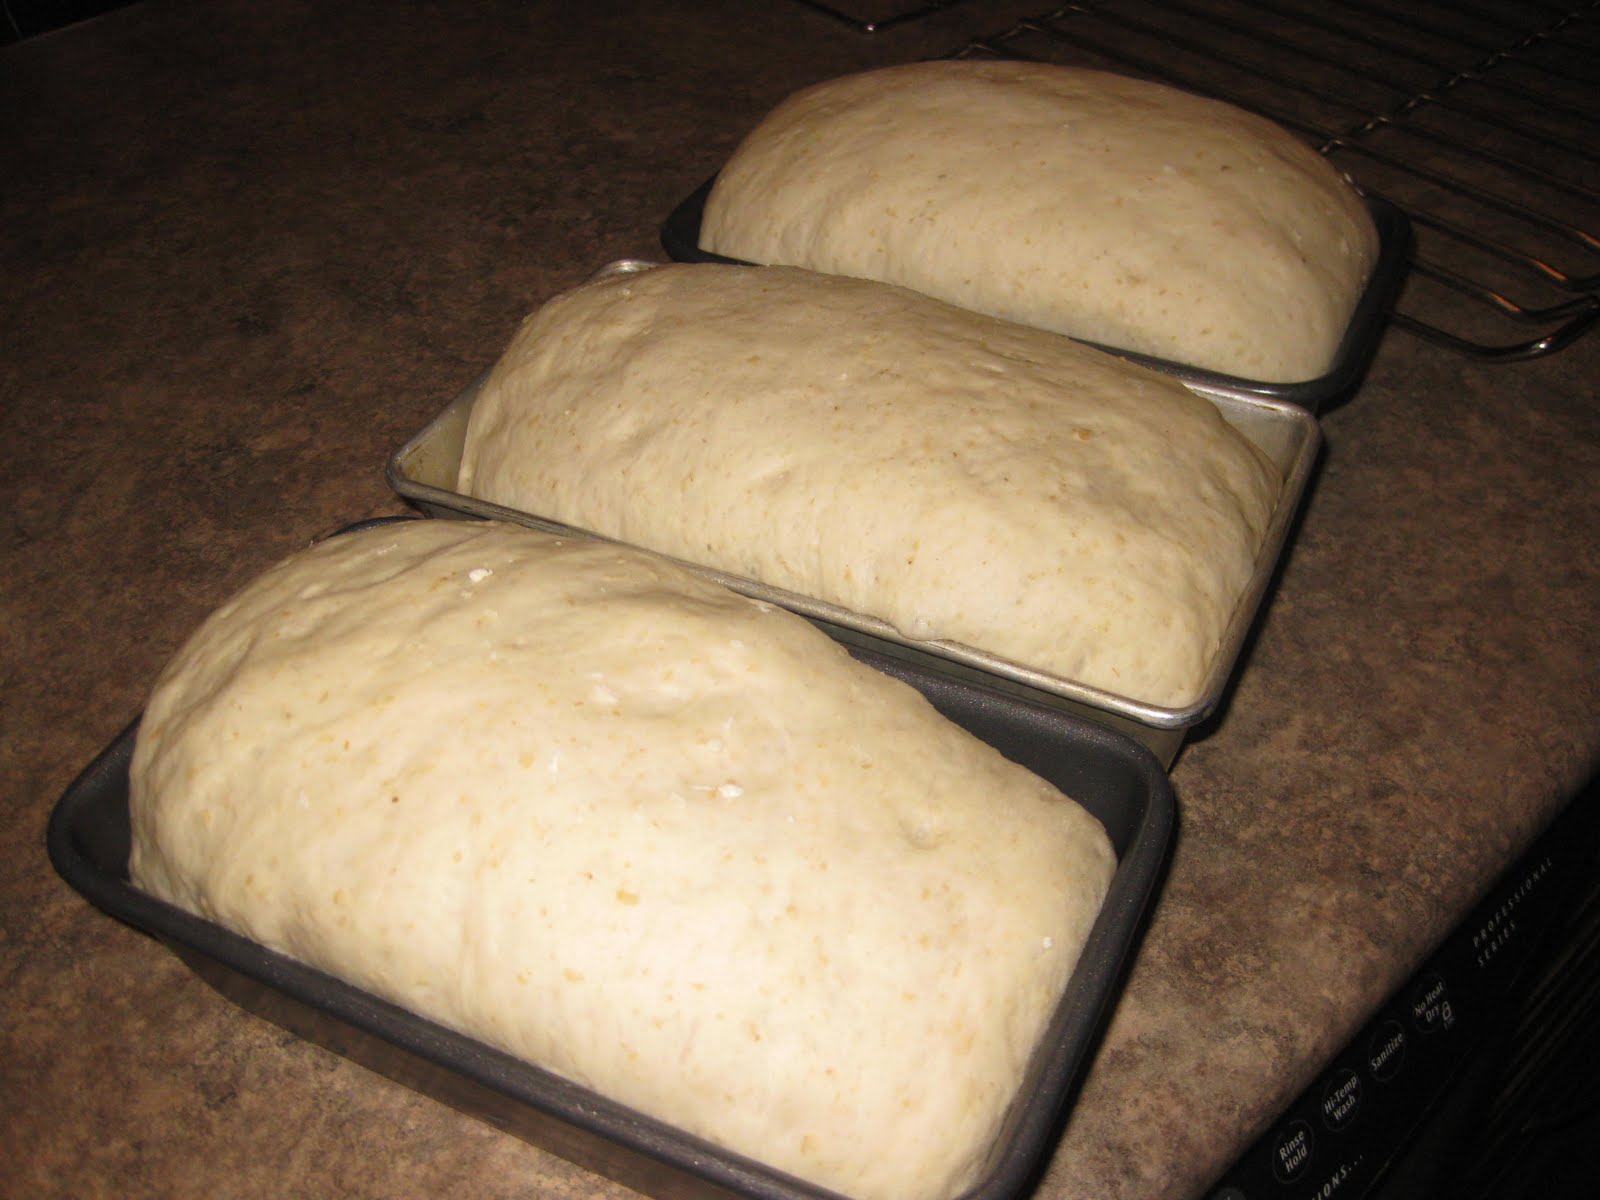
Set aside 1 cup flour from total amount. Combine remaining flour, salt and yeast. Heat milk, water, oil, and honey until hot to touch (125-130 degrees); stir into dry mixture. Mix in eggs and enough reserved flour to make soft dough. Knead on floured surface until smooth, about 5 minutes. Cover; let rest for 10 minutes.


To create the Calzone:

Divide the loaf of dough in half and then divide each half into six portions. Roll each portion into a 6-inch circle. Spoon 2-4 tablespoons of filling onto half of one circle; fold the dough over the filling and seal the edges with a fork. Repeat with the remaining dough and filling. Brush with butter. (You will have to make anywhere from 3-5 loaves of dough depending on how much filling you put in each calzone. If you make too much dough, make a loaf of bread. Grandma made two!)

Place on greased baking sheets. Bake at 350 degrees for 25 minutes or until golden brown. Serve with spaghetti or pizza sauce for dipping.

Our calzones went right into the freezer before baking and make nice, quick meals when we want them. If baking from frozen, bake at 350 degrees for 30 minutes.


Sunday, April 18, 2010

Lesson #4: Cake Decorating, Part Two


I have come to realize that it will take a lifetime of practice to become the cake decorator that my grandma is, so for now I will get her to help me when I want to try something that is really new to me. This happened last week when my friend, Mindy, asked if I could bake a cake for her nephew's birthday party. I knew I wanted to try using a character cake pan which was something completely new to me. Mindy thought her nephew would like a Mario Brothers cake but I couldn't find a Mario cake pan so we settled on Spiderman.

Grandma and I decided to get together on Friday since she was baking a cake for my cousin's first communion. I rented a cake pan from the Bulk Barn (which has become my new favourite store for all things baking) and brought it with me to Grandma's house. By the time I got there, Grandma had her cake cooling and all of the ingredients out to bake mine. I quickly mixed everything together in her stand mixer (something I really need to get myself), poured the batter into the pan, and put the cake into the oven. I really didn't even know how much cake batter went into a cake pan but Grandma let me know that most cake pans will hold most cake recipes.

For this Spiderman cake I used a chocolate cake recipe that Grandma got from a friend of the family, Father Jack (probably many years ago). For the icing we used her original butter cream icing recipe. She still has the recipe that came with all of the cake decorating tools that she and her dad (my great-grandfather) ordered more than 50 years ago. The two of them actually took cake decorating classes together at Essex High School when Grandma was just a teenager.

Here are the recipes:


Chocolate Cupcakes (or Cake) (Father Jack's)


2/3 cup butter, room temp
2 cups brown sugar (packed)
1/2 cup cocoa
1 egg
1 cup sour milk (or 1 tbsp vinegar in 1 cup sweet milk)
3/4 cup hot water
1 tsp baking soda
2 tsp baking powder
1/2 tsp salt
2 and 1/2 cups unsifted cake and pastry flour (we just used all-purpose)
1 tsp vanilla

In a stand mixer, cream together butter, sugar, and cocoa. Add egg and blend. Stir in milk and hot water to which the 1 tsp of baking soda has been added. Add baking powder, salt, flour, and vanilla and mix well, scraping down the sides of the bowl to incorporate everything.

Grease entire cake pan.

Bake at 350 degrees for 35-40 minutes. (18-20 minutes if you are doing cupcakes).


Butter Cream Icing (Verbatim from "Deco Secrets")


The most important and necessary part of the skilled decorator's equipment is a perfect icing. Without this, any amount of skill and tubes is useless.

After years of experimenting with different formulas for this type of butter cream icing, to Gene Dursch's knowledge, none equals this recipe for all-around performance and adaptability.

The following formula is sufficient for the icing and decoration of a 9 inch cake. For smaller or greater quantities, adjust accordingly.

Mix together in a large bowl:

1 and 1/2 cups shortening
1/2 tsp salt
vanilla or flavor to taste
1/4 cup water
9 cups sifted powdered sugar

Beat until ALL lumps are out and then add:

1/2 cup butter

Continue beating until light and fluffy.

After you have made a batch or two, you will be able to increase or decrease the amount of water in order to obtain the desired consistency.

For smaller quantities, decrease the measurements proportionately.

REMEMBER THE RULE:

Hot Weather......Less Water
Cold Weather......More Water

Let shortening and butter become pliable at room temperature before using.

Practice Makes Perfect

Grandma has used this recipe so many times that I'm pretty sure she doesn't even bother to take it out any more. She had it out for me though and I did get to make it but if I hadn't had her help I don't know that my cake would have turned out as well as it did. She was able to tell me whether I needed to add more icing sugar or not...it'll take me a couple of tries before I am confident in decorating with this icing on my own! Grandma also mixed the food colouring in for me to get Spiderman's colours just right.


Monday, March 29, 2010

Lesson #3: Honey Oatmeal Bread

Here I am, kneading away!

That's a big ball of dough!


I was away on vacation for a couple of weeks and, boy, was I ever ready to get back to baking! I baked a batch of banana muffins a couple of days ago and even whipped up some cookie dough yesterday morning with Holden for some cookies I'm planning to make for Easter. I just couldn't wait to get back into the kitchen! Today was the icing on the cake though (pun intended)...today I learned how to bake bread!! I know I could attempt these recipes on my own but it's so much easier and way more fun with a willing instructor. As long as Grandma is willing to teach, I am willing to learn. Besides, I showed up to my grandparents' place so proud of myself for bringing my own rolling pin that I immediately pointed this out to them. Grandma's reply was, "Oh, well you don't need a rolling pin. You will be kneading the dough." Obviously I need these lessons because I learn something new each time!!

Anyway, I really was able to bake a batch of bread (3 loaves) on my own since Aunt Paulette was there to help out with Easton. Grandma helped me with the trickier parts like the yeast (which I've never used before, obviously) and the kneading. I have to say that kneading dough is pretty fun. It is also fun to punch the dough down before dividing it into loaves. The best part though is smelling the bread while it bakes! Like it says in the cookbook we used, "There's nothing like homemade bread!"


Here is the recipe:

1 cup quick cooking rolled oats
1/4 cup butter
1/3 cup honey
1 tblsp salt
2 cups boiling water
2 packages active dry yeast (we used Fleischmann's traditional)
1 cup lukewarm water
8 cups flour (we used all-purpose and only about 7 cups)


Combine oats, butter, honey, and salt. Stir in boiling water. Cool to lukewarm.

Sprinkle yeast into lukewarm water (105-115 degrees) and stir to dissolve. Add yeast and 2 cups of flour to oat mixture. Beat with mixer at medium speed until smooth, for about 2 minutes, scraping bowl occasionally. *

Gradually add remaining flour, a little at a time, to make a soft dough that leaves the sides of the bowl. (We only added another 4 cups of flour here.) Turn onto lightly floured surface and knead until smooth for about 8-10 minutes. (The rest of the flour was kneaded into the dough.)

Place into a lightly greased bowl and turn dough over to grease top. Cover and let rise in a warm place until doubled for about 1 to 1.5 hours.

Once dough has risen, punch it down and divide into thirds. Shape into loaves and place into 3 greased 9x5x3 loaf pans. Let rise until doubled.

Bake at 400 degrees for 10 minutes. Reduce heat to 350 degrees and continue to bake for 30-35 minutes. Brush tops with butter and remove from pans. Cool on racks. Makes 3 loaves.


Recipe taken from "Family Favorites" From Country Kitchens which was published by Farm Journal, Inc. in 1973.

It is suggested in the cookbook to "serve warm from the oven with honey drizzled over each slice." That sounds delicious....I will have to try that in the morning, warm from the toaster! Whatever I have left I will bring to my mother-in-law's for Easter dinner. As for Easter with my side of the family, there will be dinner rolls which were baked today by Grandma!

*Just a note about the yeast. You do not want the water any warmer than the suggested temperature so use a thermometer if you are uncertain whether or not it is lukewarm (I did). If it is too hot it will kill the yeast and your dough will not rise. Also, while mixing the yeast it will feel tacky but that is normal. Keep mixing, it will dissolve!


Monday, March 1, 2010

Lesson #2: Cake Decorating

Sammy and her Ariel cake.

Austin and Winnie the Pooh.

The carrot cake Grandma baked for Alex.


I was very impressed with this box. Grandma's dad made this for her specifically to hold her cake decorating tools. She said she's had this box since before she was married so it's more than 50 years old!


The "before" shot of the Little Mermaid Cake.


The "after" shot!


The adorable Winnie the Pooh cake.


I've always wondered how Grandma was able to turn a regular old cake into a beautiful princess or a favourite cartoon character so when my sister, Erin, was talking about having a birthday party for her kids, Sammy and Austin, I volunteered Grandma and myself to bake and decorate the cakes. The party was to be held on the last Sunday of February so Grandma and I decided to get together on Friday, February 26th for some cake decorating fun! We had quite a bit of snow the night before and that morning so Easton and I had a long, slow drive out to Kingsville but I knew it'd be worth the effort. Unfortunately, Easton was not feeling great so he wanted to be held a lot which meant I wasn't able to help Grandma as much as I would have liked but I still feel like I learned a lot just from watching.

Grandma had one cake cooling and one in the oven when I got to her house that morning so that we could get started on the decorating shortly after I arrived. She had made a teddy bear cake for Austin that we were going to turn into Winnie the Pooh and a doll cake for Samantha that we were going to turn into Ariel from the Little Mermaid...oh, and Sammy wanted Ariel to look like a mermaid, not a princess. Unfortunately, the teddy bear cake fell apart a little when Grandma was taking him out of the cake pan (sorry Grandma if you didn't tell anyone this!) so we waited for the doll cake to finish baking and cooling before we started decorating.

Mostly all I did was help Grandma mix the food colouring into the icing because I didn't want to ruin the cakes! I helped with the Ariel cake but let Grandma decorate Winnie on her own (mainly because Easton didn't want me to put him down). I think it was good for me to just watch but next time....I will decorate an entire cake on my own (I hope)!!

As I started typing this I realized I forgot to get the recipe for the icing from Granmda so I will post it later. I should mention that Granmda baked a third cake on Saturday...a carrot cake for my cousin Alex's sweet sixteen. We celebrated all three birthdays together. Happy 2nd Birthday to Austin, Happy 4th Birthday to Samantha, and Happy 16th Birthday to Alexandra!!!

Monday, February 15, 2010

Lesson #1: Cream Cheese Cutout Cookies


I asked my Grandma (Mable) to help me bake some cookies for Valentine's Day. We decided to meet at her house on Friday, February 12th. She called me that morning to see if we could meet at my mom's house instead since Grandpa was a little under the weather and didn't want to get my 3 month old (Easton) sick. Luckily, mom (Tina) was willing to let us invade her kitchen.

Grandma had made a batch of cookie dough the night before so that we could get started right away. The dough had to sit for an hour and a half so this was good forethought on her part. I got to make a batch as soon as I got to my mom's under Grandma's supervision! She had brought all of the ingredients. Once I was finished mixing my dough it went into the fridge and I began rolling out the dough Grandma had made the night before. My mom and sister (Misty) laughed at my rolling skills. I'm embarrassed to say that IF I have ever used a rolling pin in my life it has been a long, long time! Grandma stepped in and showed me the proper way to do it and everything went smoothly after that.

We melted red chocolate and some chocolate chips (separately) to decorate the cookies. It took me a few cookies before I got my dipping technique down but once I got on a roll it was pretty easy. We added some sprinkles to most of the cookies since they were mostly for kids.

Here is the recipe:

1 cup butter, softened
1 8oz package cream cheese, softened
1.5 cups sugar
1 egg
1 tsp vanilla
half tsp almond extract
3.5 cups all purpose flour
1 tsp baking powder

In a large bowl beat butter and cream cheese until combined. Add sugar and beat until fluffy. Add eggs, vanilla, and almond extract. Beat well. Add dry ingredients (mix in with spoon once too tough to use beaters). Divide the dough in half and refrigerate for about an hour and a half.

Preheat oven to 375 degrees

Roll out dough to about one-eighth inch thick on lightly floured surface. Cut out and place on ungreased cookie sheet. Bake for 8-10 minutes. Makes about 7 dozen.